by Nathan Stout (of AccordingToWhim.com)
Welcome to the next part of this snore-o-rama of do-it-yourselfness. Look people, we have a goal of having a post for every day of 2011, so sometimes you just run out of ideas and have to dig deep. This is an example of that. I have found that the best material to get blog posts out of are real life experience, and this is an ongoing one, so deal with it!
So I arrived a little early this particular Saturday to work on my mom’s rent house. As you know by now, the former tenants ripped this place to shreds. I have been working to get it in a livable condition, so we can make some money on it.
First thing I did was to try a clever idea I had about filling in the gaps between the ceiling and the walls. This sort of thing is usually covered up by trim but it would just cost that much more to buy that much trim. My solution is to just put caulk but the gap is too big. The former tenant did a lot of ‘repairs’ and ‘upgrades,’ and one of those was to put new wall board up which didn’t come close to the ceiling. I decided that I would need to use spackle (or mud as it is called) to fill in that gap. I was having issues doing that last week since you can’t get a mud knife (like a spatula) up there in that crevice, so I got clever and decided to use the pastry bag method. I used a baggie, filled it with mud, cut one of the ends, and squeezed the mud out into the gap. This sorta worked but it was messy. I got the gap filled. Once it dries, I will paint and all will blend nicely.
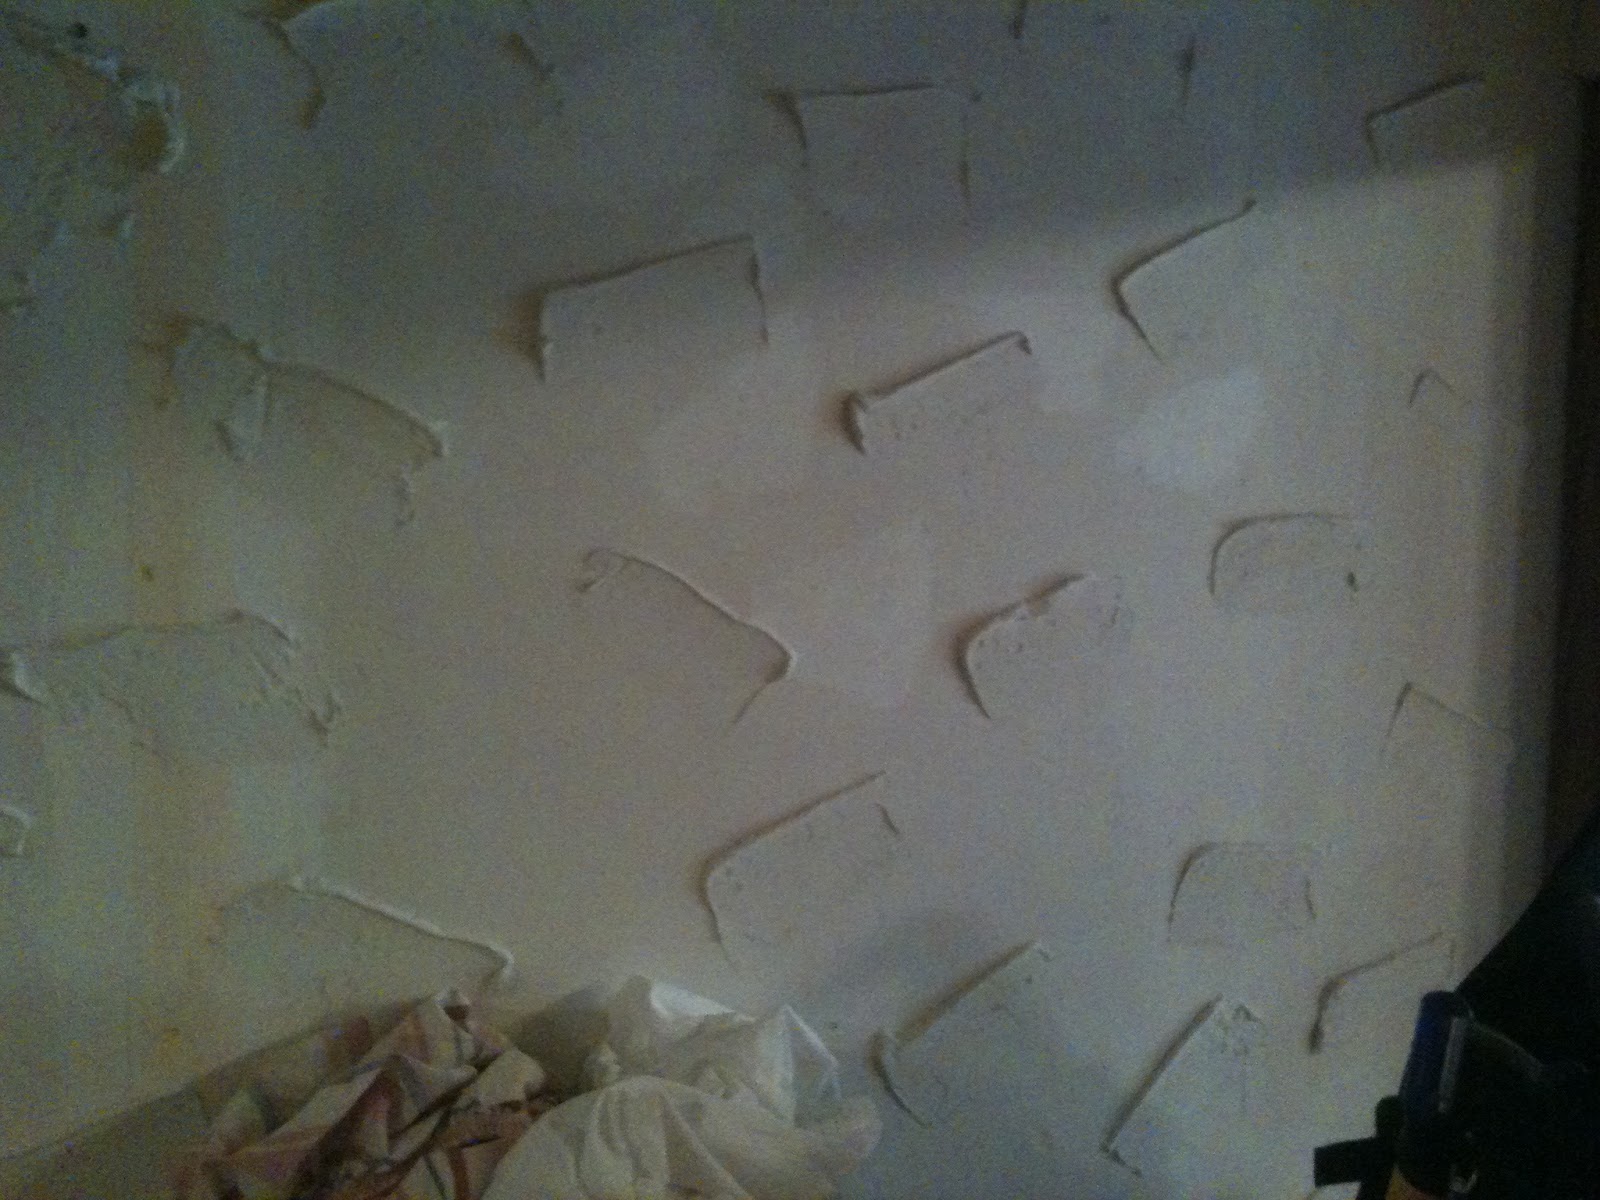
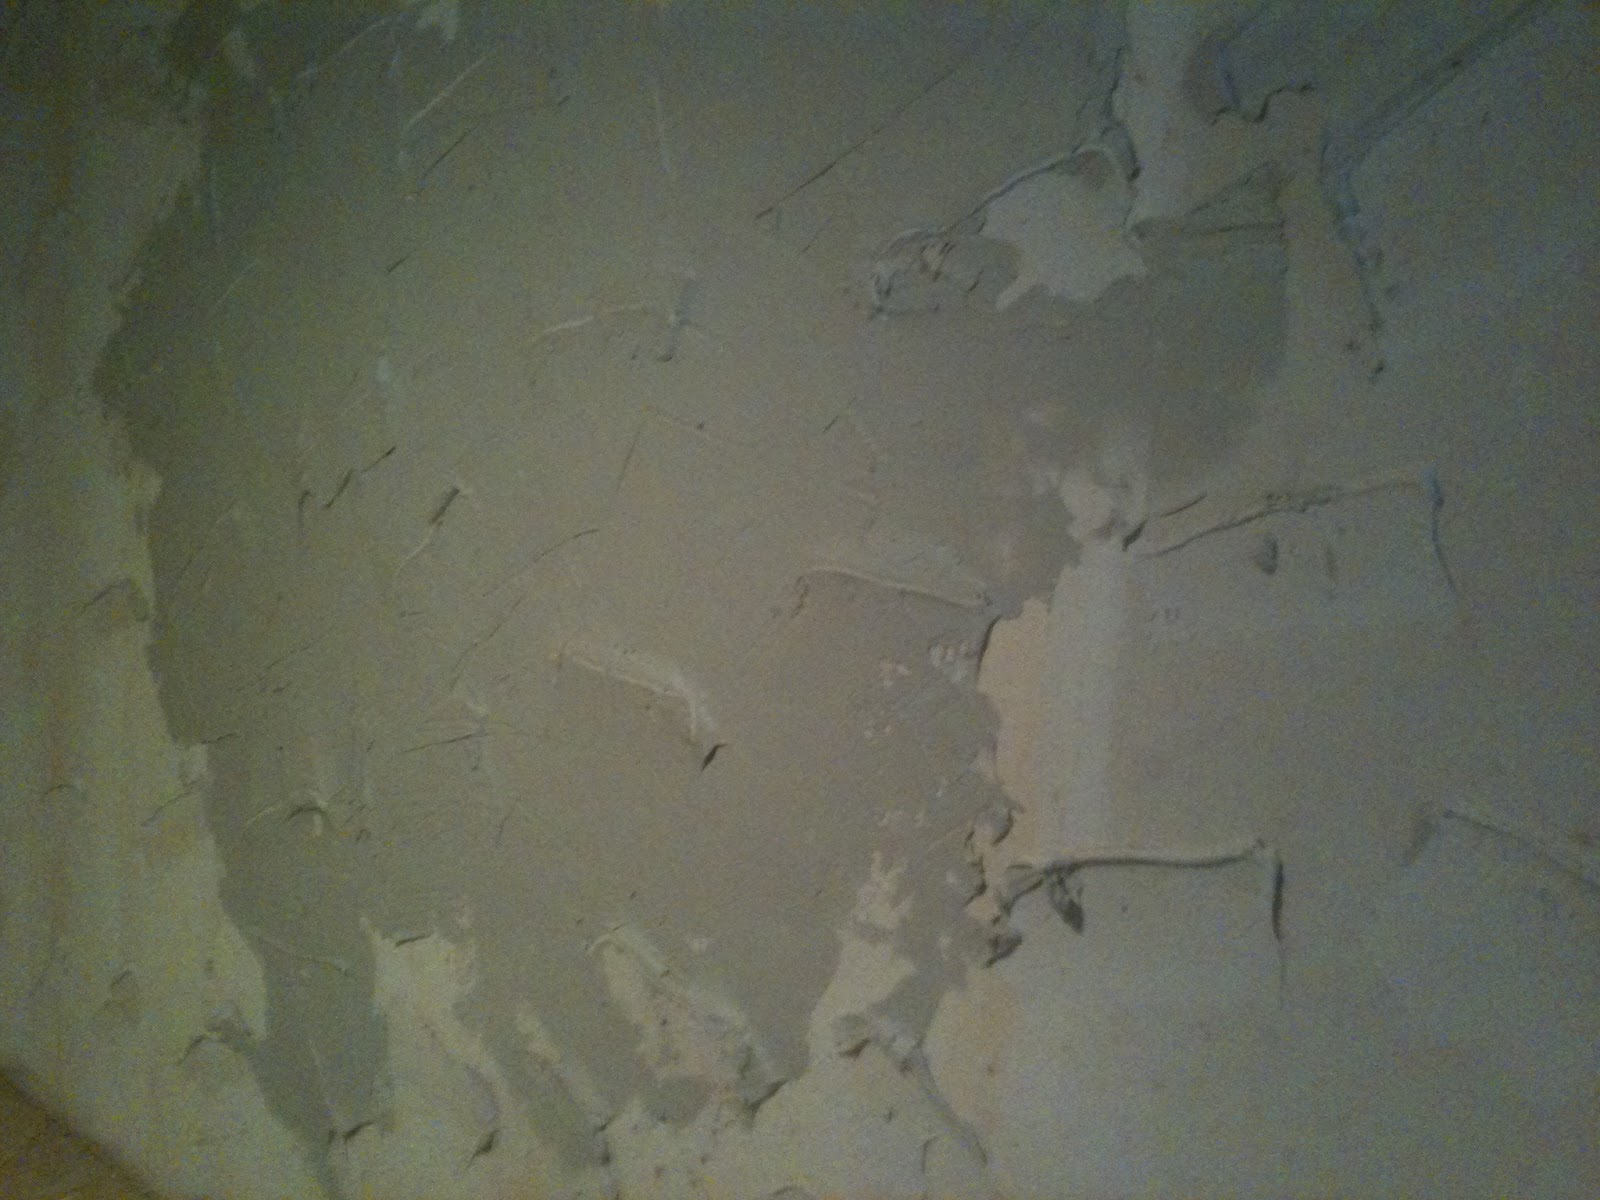
I then started on that horrible looking kitchen wall (above the stove). There were these mounds of spackle that were all over it in no particular pattern. It looks like he was planning to build up a thick texture on the wall. Here is what it looks like: